
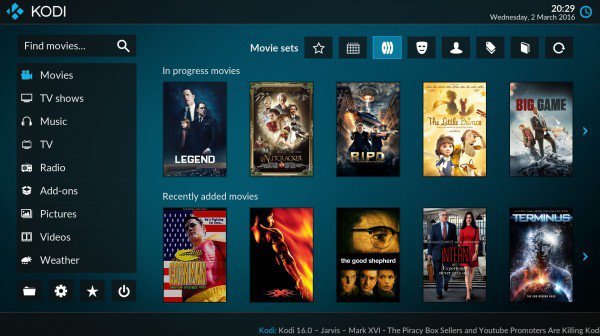
What Is Kodi And Why Do I Need It?
Kodi is an open source media player. It was originally called XBMC, you may have heard of it before. You’ll see a lot of folks buy an Amazon Fire Stick or Google Chromecast just to use this one app on their TV. Being able to add this app to your Apple TV adds a ton of value to your Apple TV. Rumor has it that this app allows for additional add-ons with all sorts of functions. One add-on in specific that tends to generate a lot of chatter online is Exodus, which is capable of streaming Movies, TV Shows, and even Live Channels. It has the ability to display all this content quickly, organized, and in a very user-friendly GUI. We could either confirm nor deny these allegations in regards to Exodus, but we figured that many individuals are using this add-on on Kodi. Fair warning, this will change the way you watch TV forever.
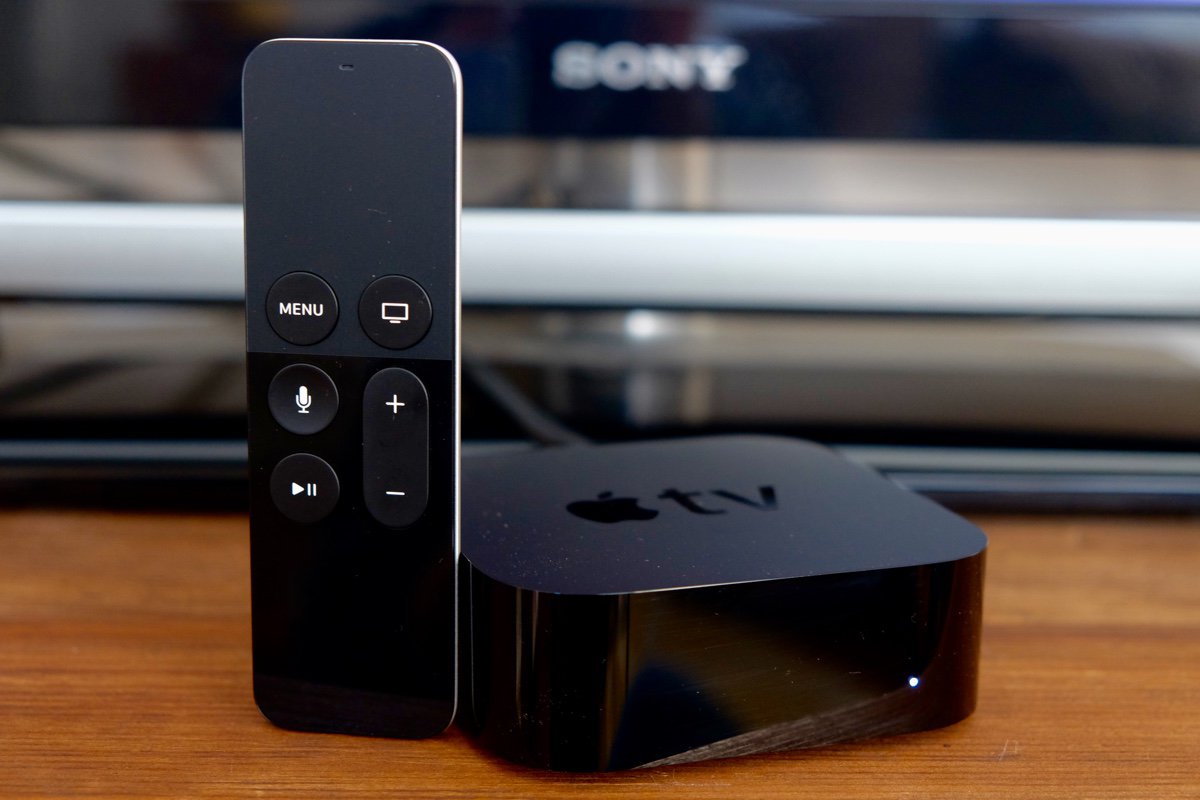
How to install Kodi on fourth generation Apple TV
Requirements (Instructions for Mac. It can be done on a PC but you’ll need a Hackintosh, we won’t be going into those details)
- Xcode 7.2 or later (free)
- iOS App Signer utility for Mac (free)
- The latest Kodi .deb file for tvOS (free)
- Apple Developer account (Sign up here if you don’t have one, it’s free)
You’ll also need a USB-C to USB-A cable. If you do not have one, then you can easily acquire on on Amazon for around $6, for example, this one. Once you have a cable and the apps above, follow the steps below to install Kodi on your Apple TV:
- Connect the Apple TV to your Mac using the USB-C to USB-A cable.
- Once the Apple TV is plugged in, open Xcode and select “Create a new Xcode project” from the main menu. Select “Application” under the tvOS section on the left-hand side of the window, then select “Single View Application” and click “Next”.
- The next step is to specify options for the ‘new project’. Give your project a product name and organization name (these can be made up) and make sure you fill in the Bundle Identifier. Bundle Identifiers usually take a reverse-domain style name (like com.arcade.kodiappletv) and like the other fields, this can also be made up. Once you’ve filled out all fields, click “Next” and save the project somewhere that’s easy to access.
- There’s a good chance you’ll see an error in the main Xcode window stating that the software can’t find a “matching provisioning profile”. That’s cool, just click “Fix Issue” and allow the software to resolve the issue.
- Resolving the issue requires access to an active (and free) Apple Developer account, and you should be prompted to sign in with the Apple ID tied to the developer account. Click “Add” and sign in using your email address and password. Sometimes the software will continue to ask for login details, this is fine. Simply select your Apple ID from the drop-down box and click “Choose” to proceed. Xcode will now resolve the issue and create a provisioning profile based on your personal developer account.
- Once the issue has been resolved, the next step is to select the Apple TV from the dropdown at the top of the Xcode window (alongside the Play and Stop buttons on the top left-hand side).
- Open the iOS App Signer app and select the relevant “Signing Certificate” from the dropdown. Do the same for the “Provisioning Profile” field, selecting the name of the project you created in Xcode. The “Input File” is asking for the Kodi .deb file so click “Browse” and locate the file you downloaded earlier. You can leave the “App Display Name” field blank if you don’t want to rename the app on your Apple TV home screen.
- Once you’ve filled out all the relevant fields, simply click “Start”. The iOS App Signer app will create an IPA file based on the Kodi .deb file, ready to be installed on the Apple TV.
- In Xcode, click Window > Devices, select your Apple TV from the list on the left-hand side and click the “+” button under the “Installed Apps” header.
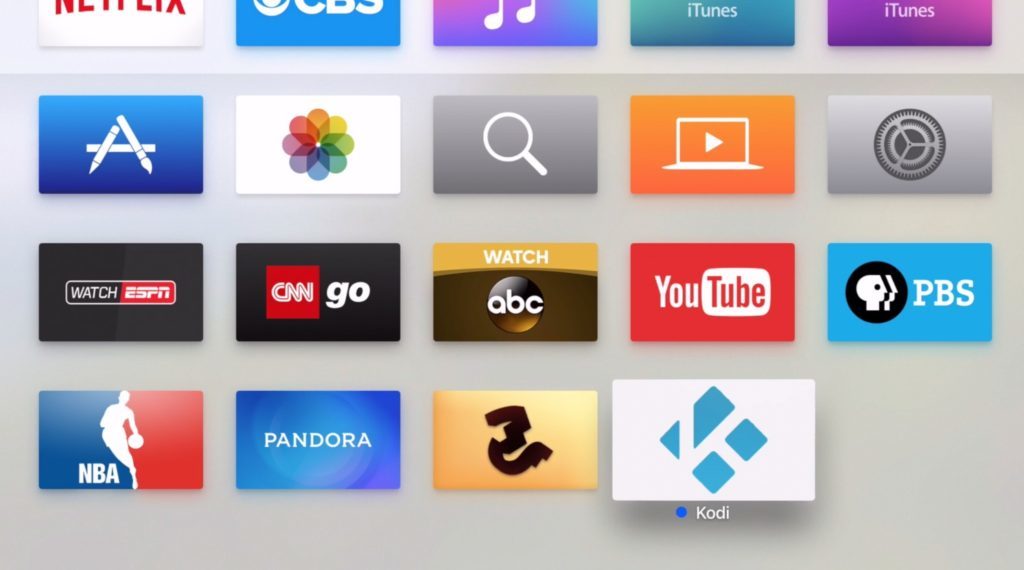
- Finally, locate the IPA file created within the iOS App Signer app and select it. The package should then be installed on your Apple TV, ready to be used.
You now have the power of Kodi on your Apple TV without jailbreaking it. Enjoy!


Leave a Reply
6 Comments on "How To Install Kodi On Apple TV Without Jailbreaking"
You must be logged in to post a comment.
You must be logged in to post a comment.
I think Apple is gonna catch up to this and restrict it just like they do with everything else
It does work. I’ll share
This is good cause jailbreaking the apple tv sucks
Pretty cool to know
I thought you had to Jailbreak the Apple TV to do this. How times have changed where you can now install third party apps on Apple devices. Pretty impressive.
This actually works as advertised. GJ